The short answer
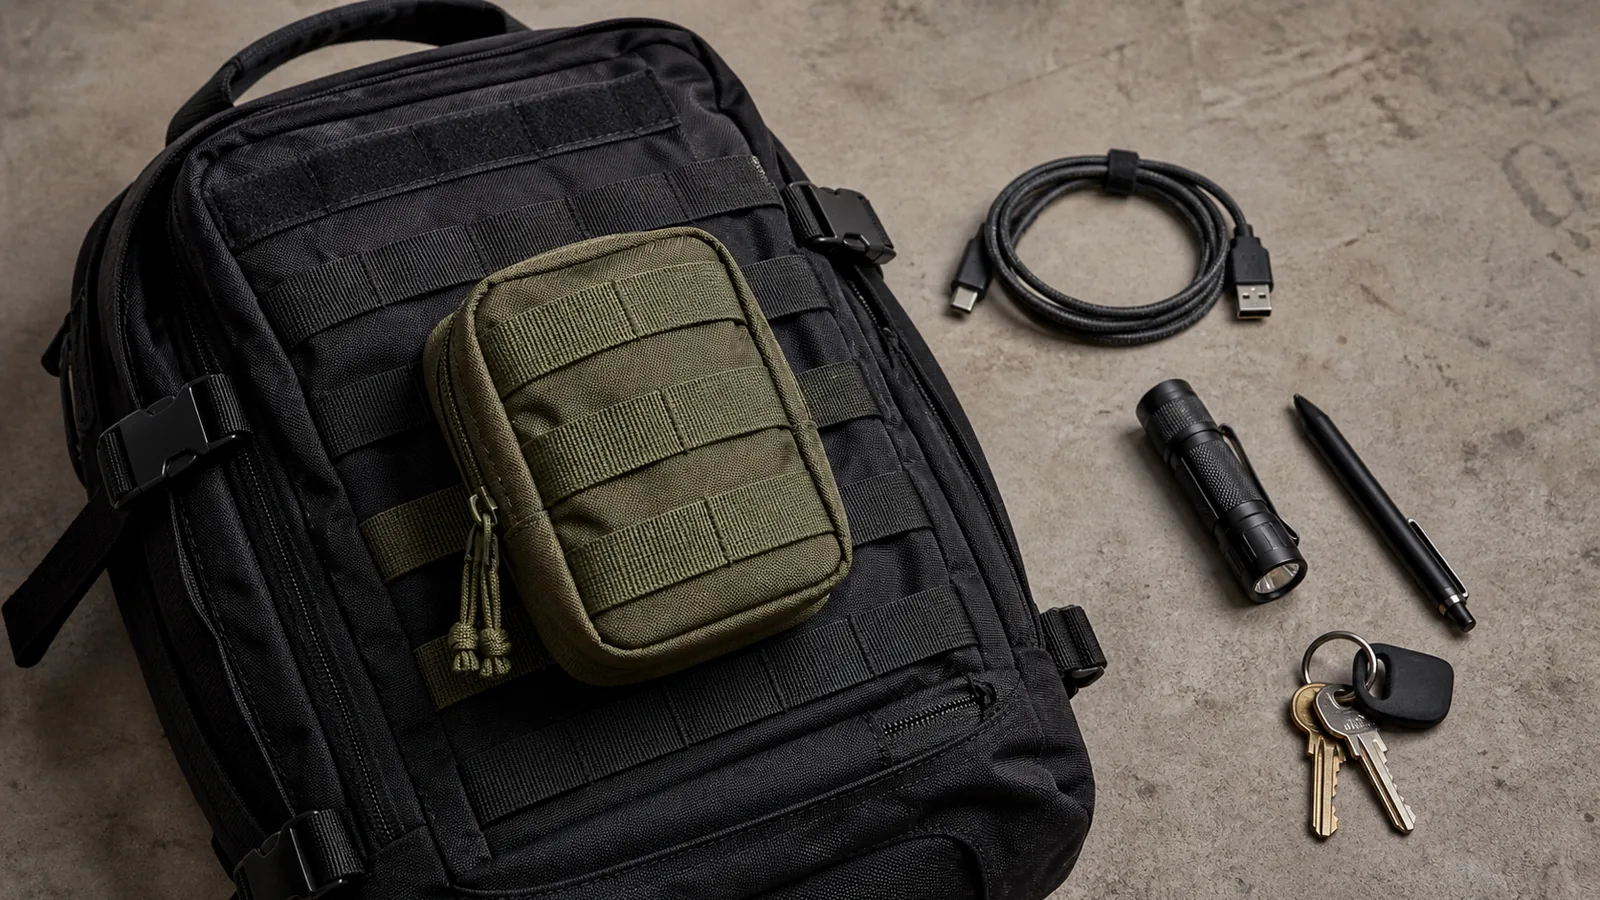
Do not run a MOLLE strap straight down behind the backpack webbing. Start at the top, pass the strap through the first compatible row on the backpack, bring it back through the next row on the pouch, and keep alternating between the two surfaces. Use all available rows that the attachment system is designed to use, then close the snap, tuck the end, or lock the clip according to its design.
This interwoven connection is what keeps a pouch from hanging away from the pack. Vanquest’s MOLLE guide explains that PALS is the webbing grid used to mount smaller accessories and recommends using all available rows for a more secure fit. Zentauron’s illustrated attachment guide shows the same alternating sequence: carrier row, pouch row, then the next carrier row.
If you are deciding whether the gear in front of you is actually MOLLE-compatible, start with our guide to the difference between a MOLLE pouch and a general EDC pouch. A zippered organizer can be useful without having the rear attachment hardware needed for this method. If your carrier is worn rather than carried, use the same compatibility checks in our MOLLE pouch vest setup guide.
MOLLE and PALS: the useful distinction
MOLLE stands for Modular Lightweight Load-carrying Equipment. PALS means Pouch Attachment Ladder System: the horizontal rows that create repeatable attachment points. People often call the webbing itself “MOLLE,” but PALS is the part you actually weave through.
Traditional PALS rows are designed to interlock with compatible straps on the back of a pouch. Modern gear may use sewn webbing, laser-cut slots, purpose-built sticks, or clips. Vanquest notes that some pouches have built-in attachment straps while others require separate mounting hardware. That is why visible webbing on the front of a pouch does not, by itself, prove that the pouch is ready to mount.
Check compatibility before you start
| Check | What you want to see | Warning sign |
|---|---|---|
| Backpack surface | Repeated PALS rows or compatible laser-cut slots with enough open columns for the pouch. | Decorative loops, elastic cord, a grab handle, or a single compression strap. |
| Pouch attachment | Rear straps, sticks, or clips intended to interweave with a compatible carrier. | Only front webbing, a belt loop, hook-and-loop, or no clear rear mounting method. |
| Row and column fit | The pouch fits the available width and can use the full designed attachment length. | The pouch covers buckles, pulls across a curve, or leaves the final strap end unsecured. |
| Access | Pack zippers, handles, compression straps, and bottle pockets still work normally. | The mounted pouch must be moved every time the backpack opens. |
| Loaded test | The pouch stays flush when filled with its normal light-to-moderate load. | It swings, twists, pulls the panel outward, or makes the pack difficult to set down. |
Match the hardware to its maker’s directions. A snap strap, polymer clip, and rigid mounting stick can all use the same grid but close differently. If the pouch or backpack came with instructions, those instructions take priority over a generic sequence.
How to attach the pouch in seven steps
- Empty the pouch and backpack pocket. An unloaded pouch is easier to align, and an empty nearby pocket lets you feel whether a strap accidentally passed through fabric it should not catch.
- Choose the position before weaving. Hold the pouch against the grid. Check the top edge, width, zipper swing, handle clearance, and the path of any compression strap. Zentauron recommends trial-positioning the pouch first so enough carrier rows remain for the full connection.
- Align the top attachment points. Keep the pouch level and place its rear straps directly over the backpack columns they will use. Starting crooked usually forces the last row sideways.
- Pass each strap through the first backpack row. Feed the strap behind the compatible row or through the first matching slot on the carrier. Pull it snug, but do not twist the strap.
- Bring the strap back through the pouch row. Return it through the next rear row or slot on the pouch. This is the step people skip when they run a strap straight down the backpack; returning through the pouch is what begins the weave.
- Alternate to the bottom. Continue backpack row, pouch row, backpack row, pouch row. Pull the slack out after each pass. Vanquest recommends using all available rows, and Zentauron’s sequence tightens the webbing at every stage rather than waiting until the end.
- Secure and test the finished mount. Close the snap, seat the stick, lock the clip, or tuck the strap end exactly as designed. Load the pouch with the items it will normally carry, zip it, lift the pack, and check for side-to-side movement, blocked access, or fabric pulled into an awkward shape.
A well-fitted pouch should feel like part of the backpack rather than an item hanging from it. If one corner lifts, undo the mount and check for a missed pouch row, a twisted strap, or mismatched starting columns.
Choose a position that works after the pack is loaded
Daily and work backpacks
Place the pouch where you can reach it without removing several other items, but keep it clear of the main zipper and shoulder-strap movement. A compact cable, keys, pen, or light can suit an external organizer; a laptop charger or other dense object may carry better inside the main bag. Our work-bag pouch guide explains how to give a removable organizer one clear job, while the EDC pouch layout guide helps prevent the mounted pouch from becoming a catch-all.
Camping and outdoor packs
External access can help with small items used during setup, but it also puts the pouch in the path of branches, vehicle doors, dirt, and weather. Keep the load compact, close every zipper, and avoid mounting the pouch farther out than necessary. See our MOLLE pouch camping and travel guide for practical use cases that keep larger safety and activity-specific equipment in appropriate storage.
Truck panels and fixed gear surfaces
The same alternating weave can apply to a compatible seat panel or gear panel, but confirm the panel is anchored for the intended load. A secure pouch-to-panel connection does not make a loose panel secure. For a vehicle-focused arrangement, use the tactical pouch truck-kit guide and keep first-aid or emergency systems separately identified.
Keep the external load controlled
MOLLE makes a backpack modular; it does not remove the need to manage size and weight. Start with the empty pouch attached, then add the normal contents and carry the backpack for a few minutes. Watch for three signals:
- Swing: the pouch moves independently when you walk or turn.
- Panel pull: the backpack face bows outward or a nearby zipper becomes harder to use.
- Access conflict: the pouch is secure, but it covers a pocket, buckle, light, or handle needed more often.
If the connection is woven correctly but the loaded pouch still pulls away, reduce the load or move dense items inside the backpack. Adding another clip to hide a fit problem is not the same as correcting the position or load.
Six common attachment mistakes
- Running the straps straight down the carrier. Without alternating back through the pouch rows, the connection lacks the intended interlock.
- Using only the top one or two rows. The pouch may look attached while the lower half swings. Use the full compatible attachment area.
- Starting one column off. A crooked top row creates tension at the bottom and can make one side impossible to secure cleanly.
- Mounting to look-alike loops. Compression straps, daisy chains, and elastic are not automatically PALS rows.
- Loading before fit-testing. Weight hides twists and missed rows. Attach empty, inspect, then load.
- Assuming every pouch includes mounting hardware. Vanquest specifically notes that some MOLLE-compatible pouches need separate sticks or clips. Check the rear of the actual pouch and the live product details.
When not to mount the pouch outside
Keep the pouch inside the backpack when the outer grid is absent, when the load is fragile or weather-sensitive, when the pouch blocks access, or when a clean profile matters more than instant reach. A modular pouch still works as an internal transfer kit even when it is not attached. If your bag has no attachment rows, compare four practical ways to use a MOLLE pouch without MOLLE webbing. If you are choosing between a compact module and a whole-bag panel, compare an EDC pouch with a bag organizer insert.
Hook-and-loop is another option for compatible interior panels, but it is a different attachment system. Vanquest describes hook-and-loop as useful for internal repositioning while noting that it is not the same as a woven external MOLLE connection. Use the system the bag and pouch were designed for rather than improvising a heavy external mount.
How the current CobaltNook pouch fits the method
The current CobaltNook Tactical EDC Pouch 2-Pack is described on the live CobaltNook site as a MOLLE organizer for packs, belts, panels, and gear setups. Each set includes two organizer pouches and two US flag patches; the pouches are intended for customer-loaded items such as cables, chargers, keys, flashlights, first-aid basics, and small tools.
Before mounting any individual pouch, inspect its rear attachment method and the backpack surface in front of you. Use compatible rows and the hardware supplied or specified for that pouch. The general weaving method above applies to strap-based PALS attachments, while clips or sticks should follow their own closing directions. If a component is unclear, confirm it before loading rather than forcing it through a row.
Frequently asked questions
Can you attach a MOLLE pouch to any backpack?
No. The backpack needs a compatible PALS or MOLLE attachment surface, and the pouch needs built-in attachment straps or suitable purpose-built clips or sticks. Decorative webbing, compression straps, and elastic loops are not automatically compatible mounting rows.
Do you weave MOLLE straps through both the backpack and the pouch?
Yes. A secure installation alternates through a row on the backpack and then a row on the back of the pouch, repeating down the full attachment area. Running the straps only behind the backpack webbing leaves the pouch loose and more likely to move.
How tight should a MOLLE pouch be on a backpack?
It should sit flush against the backpack with little side-to-side movement, while the webbing and fabric remain flat rather than sharply distorted. Tighten each pass as you weave, secure the ends as designed, then test again with the pouch loaded.
Are MOLLE and PALS the same thing?
Not exactly. MOLLE is the modular load-carrying system; PALS is the ladder-like webbing grid used to attach compatible pouches. In everyday gear discussions, people often use MOLLE to describe both the system and its attachment rows.
Bottom line
A secure MOLLE mount is a full weave, not a shortcut. Position the empty pouch, alternate each attachment strap through the backpack and pouch rows, remove slack as you go, secure the ends as designed, then test the actual load.
If the pouch stays flat, the backpack still opens normally, and the load does not swing, the setup is ready. If it twists, blocks access, or pulls the panel outward, undo it and correct the position, weave, or load instead of adding makeshift hardware.
Sources and further reading
- Vanquest: MOLLE System 101 — explains PALS webbing, built-in straps versus separate mounting hardware, and the value of using all available rows.
- Zentauron: How to Attach MOLLE / PALS Pouches — illustrated manufacturer guidance for trial placement, alternating the carrier and pouch rows, tightening, and securing the end.
- CobaltNook Tactical EDC Pouch 2-Pack — current CobaltNook product details and intended gear-organization uses referenced above.