The short answer
A MOLLE pouch can still organize gear when your backpack, work bag, truck, or travel bag has no MOLLE webbing. What changes is the mounting method. The normal MOLLE connection depends on a PALS grid: rows on the carrier and straps or hardware on the pouch are interwoven to make a close, stable connection.
5.11 Tactical’s MOLLE explanation describes PALS as the rows of nylon webbing stitched onto packs, vests, and other platforms, while MOLLE-specific straps weave between the carrier and the attachment. Vanquest’s MOLLE guide likewise explains that smaller accessories mount to PALS webbing and recommends using the available rows for a secure fit.
If those carrier rows are missing, there is nothing for a standard weave to alternate through. The pouch is not useless; it simply needs a different, intentional job. If you are still deciding what type of organizer you have, compare a MOLLE pouch with a general EDC pouch first.
Four sensible ways to use the pouch
| Setup | Best for | What must be compatible | Main caution |
|---|---|---|---|
| Loose inside the bag | Work bags, travel bags, plain backpacks, truck storage | Pouch size and the space inside the bag | Give it a fixed pocket or zone so it does not become buried |
| Purpose-built belt route | Light, frequently used gear | Pouch’s rear route, adapter, belt width, and closure | Do not assume every rear strap is a belt loop |
| MOLLE-to-hook-and-loop adapter | Loop-lined backpack or bag interiors | Adapter size, pouch rows, and the bag’s loop panel | Designed for internal organization, not a heavy exterior load |
| Anchored PALS panel | Vehicle panels, rigid organizers, purpose-built inserts | Panel anchoring, pouch footprint, and mounting hardware | A secure pouch cannot fix a panel that shifts or pulls loose |
Option 1: use it as an internal organizer
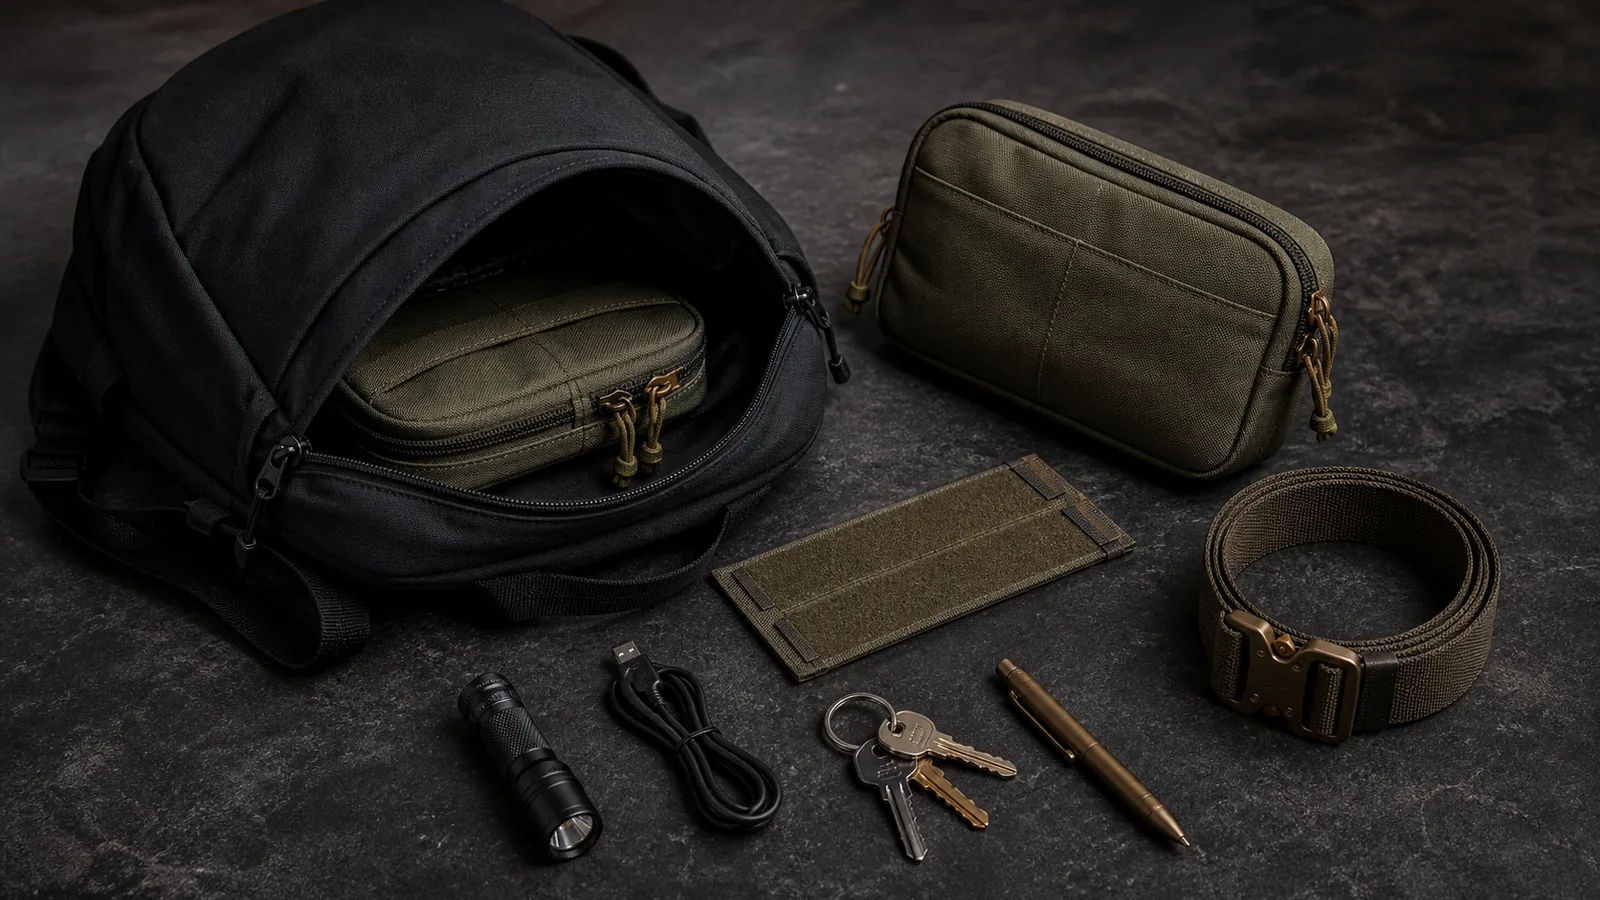
This is the simplest and most universal choice. Load the pouch with one category of small gear, zip it, and place it inside the bag. No external attachment is required, and the pouch can move between a work bag, backpack, truck, or travel kit as one module.
The key is to give it a fixed location. Use the same inner pocket, bottom corner, or document sleeve every time. If the pouch floats randomly through the main compartment, it solves loose-item clutter but not the search problem. Our EDC pouch layout guide shows how to group gear by access and use, while the pouch-versus-bag-insert comparison helps when you want the entire bag interior divided instead.
Internal carry is usually the better choice for fragile electronics, weather-sensitive items, or dense objects that make an exterior pouch pull away from the bag. It also keeps the backpack profile clean and avoids blocking a zipper, bottle pocket, grab handle, or compression strap.
Option 2: use a belt-compatible route
Some pouches have rear loops or attachment paths that can work with a belt. Others need an adapter made for the belt and pouch. These are product-specific connections, not a universal MOLLE rule. Inspect the back of the actual pouch and check the maker’s directions before loading it.
A correct belt setup should lie flat, resist twisting, and stay closed when you sit, bend, and walk. Start with an empty pouch, install the belt or adapter, then add the normal contents and test movement. Keep the load compact; a pouch that is comfortable on a backpack panel may feel bulky or unstable on a waist belt.
Esstac’s One-Wrap guide is a useful example of a manufacturer-specific belt method. It describes weaving one-inch hook-and-loop wrap through rear PALS rows and using it with a compatible two-piece belt. That does not mean any strip of hook-and-loop belongs on any belt. It shows why the pouch, belt, wrap width, and installation directions need to be treated as one system.
Option 3: convert MOLLE to a loop-lined interior
If your bag has a loop-lined interior, a purpose-built MOLLE-to-hook-and-loop panel can bridge the two systems. The pouch mounts to the adapter; the adapter then attaches to the bag’s loop surface. This can hold the organizer in one repeatable interior position without adding exterior webbing.
Vanquest’s MOHL-AIR product page describes exactly that use: converting MOLLE accessories into hook-and-loop attachments for loop-lined bags and backpacks. Its broader guide also distinguishes this adjustable internal use from a woven external MOLLE mount.
Match the adapter to the pouch footprint and the bag’s available loop area. Press the full usable hook surface into place and test the loaded pouch by opening, closing, and carrying the bag. If the adapter peels, the pouch sags, or the loop panel itself flexes heavily, reduce the load or choose internal loose carry instead.
Option 4: add a properly anchored PALS panel
A purpose-built PALS panel can add real attachment rows to a vehicle, rigid case, seat organizer, or removable bag insert. This is the closest alternative to a normal MOLLE carrier because the pouch can use the intended alternating weave or compatible clips.
The panel must be anchored for the location and load. Check how it attaches, whether it can shift under braking or movement, and whether the mounted pouch blocks controls, seat movement, air bags, visibility, or access. A tidy weave between pouch and panel is only half the setup; the panel-to-vehicle or panel-to-bag connection matters just as much.
For a vehicle layout, keep everyday small gear separate from clearly identified emergency equipment and use our truck-kit pouch guide to define the pouch’s job. For an outdoor setup, the camping and travel MOLLE guide covers practical small-item roles without turning the pouch into a catch-all.
Shortcuts to avoid
- Do not weave through random backpack straps. Compression straps, grab handles, daisy chains, and elastic cord are not automatically PALS rows.
- Do not hang a loaded pouch from one top carabiner. One point lets the pouch swing, twist, and pull against the clip. It may be acceptable as a light retention tether, not as a stable mount.
- Do not use zip ties as a permanent fit solution. They can create sharp ends, pinch fabric, block access, and make the pouch difficult to remove or inspect.
- Do not stick adhesive hook-and-loop straight onto a bag and assume it is structural. Adhesive strength, fabric coating, heat, dirt, load, and peel direction all affect the result.
- Do not sew through a bag shell without understanding the construction. You can damage coatings, liners, padding, hidden cables, or water resistance.
- Do not mount safety-critical gear on an improvised connection. Use the carrier and retention method specified for the equipment and its intended use.
If your backpack actually has a compatible grid, skip the workaround and follow the full step-by-step MOLLE backpack attachment guide. A complete alternating weave is more stable than hanging the pouch from the top row or running straps straight down behind the carrier webbing.
Choose the method by where you carry
Plain work bag or laptop backpack
Start with internal carry. Put cables, keys, a compact light, charger, or small tools in the pouch and give it one inner location. External belt or clip mounting rarely improves a clean commuter bag. See the work-bag organizer guide for a simple one-job setup.
Travel backpack or personal item
Keep the pouch inside unless the bag has a purpose-built external attachment surface. Internal carry protects the contents, keeps the profile compact, and makes security or seat-side access simpler. Our personal-item pouch guide explains how to separate documents, electronics, and in-transit essentials.
Vehicle or garage panel
Use an anchored PALS panel or compatible loop-lined organizer rather than fastening the pouch to a headrest post, seat mechanism, or loose strap. Keep the mount away from moving parts and verify the whole panel after loading.
Belt or shoulder strap
Use only a route designed for that belt or strap. Check width, closure, sag, and access while moving. A rear attachment path that looks wide enough is not automatically intended to wrap around a padded shoulder strap.
A five-minute compatibility check
- Identify the carrier. Is it a plain bag, loop-lined interior, belt, or anchored PALS panel?
- Inspect the pouch back. Look for the actual rear straps, loops, slots, or hardware—not only webbing on the front.
- Read both makers’ directions. The pouch and adapter or carrier must support the same method.
- Install it empty. Check closure, strap routing, blocked access, sharp edges, and movement.
- Load and retest. Walk, lift, sit, open the bag, and make sure the pouch stays secure without distorting the carrier.
How the current CobaltNook pouch fits
The live CobaltNook Tactical MOLLE Organizer Pouch page describes a compact organizer with MOLLE webbing, a main zip body, and front zip pockets. Each selected-color pack includes two organizer pouches and two US flag patches. The intended contents are customer-supplied small gear such as cables, chargers, keys, a compact flashlight, small tools, and first-aid basics.
A CobaltNook pouch can still work as an internal transfer kit when a bag has no external webbing. For an external or belt setup, inspect the actual pouch’s rear attachment route, the carrier surface, and any adapter before loading. The product photos help show the rear layout and scale, but the connection still needs to match the equipment in front of you.
Frequently asked questions
Can you use a MOLLE pouch without MOLLE webbing?
Yes. You can carry it loose inside a bag, use a compatible belt route built into the pouch, connect it to a purpose-built adapter inside a loop-lined bag, or mount it to a properly anchored PALS panel. Standard MOLLE weaving still requires compatible PALS rows.
Can you attach a MOLLE pouch to a regular backpack?
A plain backpack without PALS rows cannot accept the standard alternating MOLLE weave. The simplest option is to use the pouch as an internal organizer. For a fixed internal position, use a purpose-built adapter only when the backpack has a compatible loop-lined panel.
Can you put a MOLLE pouch on a normal belt?
Sometimes, but only when the pouch has a belt-compatible route or the belt and adapter are designed to work together. Do not assume every rear strap, front webbing row, or clip is a safe belt loop; check the pouch and adapter directions first.
Are carabiners a good replacement for MOLLE webbing?
A carabiner may keep a very light pouch from getting lost, but one top clip lets the pouch swing and does not reproduce a woven MOLLE mount. It is not a good substitute for a stable external setup or for gear whose access and retention matter.
If the bag has been replaced by a belt, use our MOLLE pouch belt-attachment guide to choose between a full PALS weave and a purpose-built belt adapter.
Bottom line
You do not need to abandon a MOLLE pouch just because your bag lacks MOLLE webbing. Use it inside the bag, connect it through a verified belt system, add a purpose-built hook-and-loop adapter inside a compatible bag, or mount it to a properly anchored PALS panel.
The safe rule is simple: match the pouch, carrier, adapter, and load. If the setup depends on a random strap, one swinging clip, adhesive alone, or a connection the maker does not describe, keep the pouch inside until you have a compatible mounting surface.
Sources and further reading
- 5.11 Tactical: MOLLE Systems Explained — explains PALS carrier rows and the interwoven attachment method.
- Vanquest: MOLLE System 101 — covers PALS, built-in versus separate attachment hardware, and internal hook-and-loop conversion.
- Vanquest: MOHL-AIR Adapter — first-party example of converting a MOLLE accessory for a loop-lined bag interior.
- Esstac: One-Wrap Belt Mounting Guide — manufacturer-specific example of matching rear PALS rows, one-inch wrap, and a compatible two-piece belt.
- CobaltNook Tactical MOLLE Organizer Pouches — current product details referenced above.